Making a space truly yours without the “permanent” price tag or landlord drama.
You know that feeling when you first walk into your new rental? The beige walls. The builder-grade everything. The light fixtures that look like they time-traveled from 1987. You want to make it yours, but your lease agreement reads like a legal thriller where the villain is “unauthorized alterations.”
Here’s the thing: your security deposit doesn’t have to be a hostage situation. You can transform your rental into a space that actually reflects who you are—without drilling, without demolition, and without your landlord’s phone number suddenly appearing on your screen with that dreaded call.
Let’s dive into the high-impact, reversible upgrades that’ll make your apartment feel like home (and still get you that deposit back).
Why Rent-Friendly Renovations Matter
The average American renter moves every two years. That’s a lot of beige walls to stare at if you’re not making your space work for you. But beyond aesthetics, there’s something deeper here: your environment affects your mood, productivity, and overall well-being. A space that feels like you isn’t a luxury—it’s mental health infrastructure.
The challenge? Most rentals come with strict rules about modifications. Drill into the wrong wall, paint the wrong color, or install the wrong fixture, and you’re looking at deductions that make your security deposit vanish faster than your motivation on a Monday morning.
Enter: the rent-friendly renovation revolution.
The Peel-and-Stick Power Moves
1. Removable Wallpaper: The Game-Changer
If you haven’t discovered peel-and-stick wallpaper yet, prepare for your mind to be blown. This isn’t your grandmother’s wallpaper that required a paste mixer and three days of commitment issues.
The upgrade: Modern removable wallpaper goes up in hours and comes down in minutes—without damaging paint or leaving residue.
Where to use it:
- Accent walls: One bold wall behind your bed or sofa changes the entire room’s energy
- Kitchen backsplashes: Subway tile, moroccan patterns, or marble-look designs
- Closet interiors: Because why should your clothes have all the fun?
- Bathroom walls: Yes, it’s moisture-resistant now
Pro tips:
- Clean and dry your walls thoroughly before applying
- Start from the top and work down, smoothing bubbles as you go
- Use a credit card or squeegee to work out air pockets
- Keep a hair dryer handy—gentle heat helps with repositioning
Budget: $30-60 per roll (covers about 28 square feet)
Time investment: 1-3 hours for a standard accent wall
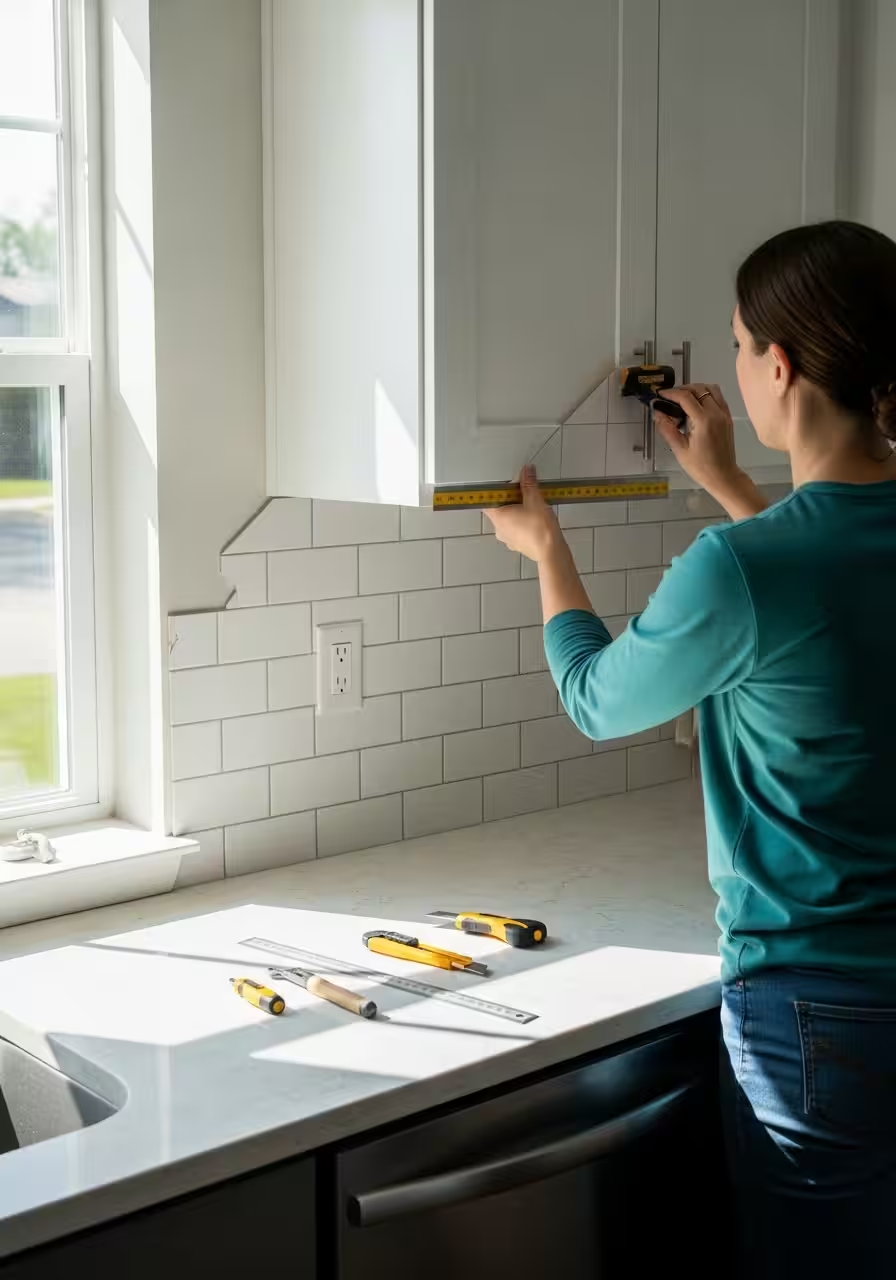
2. Peel-and-Stick Tile: Instant Kitchen Glow-Up
That rental kitchen with the dated backsplash (or no backsplash at all) is about to get a serious upgrade.
The upgrade: Peel-and-stick tiles now come in incredibly realistic finishes—subway tile, hexagon, moroccan, marble, and even 3D textures.
Application areas:
- Kitchen backsplashes (the obvious winner)
- Bathroom walls around sinks
- Fireplace surrounds
- Behind open shelving
Installation hack: Measure twice, stick once. Use a level app on your phone to keep lines straight. Most tiles are forgiving for about 30 seconds after application, so work methodically.
Budget: $15-40 per square foot
Time investment: 2-4 hours for a standard kitchen backsplash
3. Vinyl Floor Planks: Goodbye, Mystery Stains
That carpet with the questionable history? Those scuffed laminate floors? We’re covering them up.
The upgrade: Peel-and-stick vinyl planks now look remarkably like real hardwood or natural stone. They’re waterproof, durable, and completely removable.
Installation reality check:
- Clean the existing floor obsessively (seriously, dust will haunt you)
- Start from the farthest corner and work toward the door
- Stagger the seams for a natural look
- Use a utility knife and straight edge for cuts
Pro move: Lay planks perpendicular to windows to make rooms look wider.
Budget: $1.50-4 per square foot
Time investment: A weekend for an average bedroom
Lighting: The Transformation You Can See
Lighting is the most underestimated element in any space. Bad lighting makes everything look terrible—even you. Good lighting makes a studio apartment feel like an architectural digest spread.
4. Motion-Sensor Lighting: Function Meets Future
Nothing says “I have my life together” like lights that just know what you need.
The upgrade: Battery-powered motion-sensor lights eliminate the need for electrical work entirely.
Strategic placement:
- Under cabinets: Illuminate counters without installing hardwired fixtures
- Closets: Because fumbling in the dark for your shoes at 6 AM is not a vibe
- Hallways: No more stumbling to the bathroom at 2 AM
- Pantries: Find the snacks faster
- Behind monitors: Reduce eye strain with automatic bias lighting
Top products:
- LED strip lights with motion activation
- Battery-powered puck lights
- Wireless under-cabinet bars
Pro tip: Look for lights with adjustable sensitivity and duration settings. You don’t want your closet light going off mid-outfit selection.
Budget: $15-50 per fixture
Time investment: 10-20 minutes per installation (just peel and stick or screw into place)
5. Smart Bulbs: Rent-Friendly Brain Upgrade
Your existing light fixtures aren’t going anywhere, but what goes in them absolutely can change.
The upgrade: Smart bulbs screw into standard sockets but give you color control, dimming, scheduling, and voice control.
Real-world applications:
- Wake up to gradually brightening light instead of an alarm
- Set “focus mode” with cool-toned bright light for work
- Switch to warm, dimmed lighting for evenings
- Create preset scenes for different moods
Budget: $10-25 per bulb
Time investment: 2 minutes per bulb (it’s literally just screwing in a light bulb)
6. Pendant Light Swaps: The Easiest Dramatic Change
Most leases allow you to swap light fixtures as long as you keep the originals and reinstall them when you leave.
The upgrade: Replace those builder-grade flush-mount ceiling lights with statement pendants or chandeliers.
How to do it safely:
- Turn off the breaker (seriously, don’t skip this)
- Remove the old fixture and keep ALL hardware
- Install your new fixture using the existing electrical box
- Store the original carefully for move-out day
Budget: $40-200 per fixture
Time investment: 30-60 minutes per fixture
The Hardware Revolution
7. Cabinet Hardware: Small Change, Big Impact
Swapping out drawer pulls and cabinet knobs is possibly the highest ROI upgrade you can make.
The upgrade: Modern hardware transforms dated kitchens and bathrooms instantly.
Installation:
- Keep all original hardware in a labeled ziplock bag
- Most handles use the same hole spacing—just unscrew old, screw in new
- If holes don’t match, use backplates to cover old holes
Style tip: Matte black or brushed brass reads more current than chrome or traditional bronze.
Budget: $2-10 per pull/knob
Time investment: 1-2 hours for a full kitchen
8. Door Upgrading (Without Removing Doors)
Contact paper on doors: Yes, you can transform hollow-core doors with high-quality contact paper or removable wallpaper. Faux wood grain, bold colors, or modern patterns completely change the feel.
Temporary door panels: Add board-and-batten style with lightweight foam panels attached with Command strips.
Budget: $20-50 per door
Time investment: 1-2 hours per door
Storage Solutions That Don’t Breach Your Lease
9. Floating Shelves (The Damage-Free Way)
Yes, you can have floating shelves without drilling.
The upgrade: Heavy-duty adhesive strips now support significant weight (some up to 16 pounds).
Application:
- Display shelves for books and plants
- Bathroom storage
- Kitchen organization
- Command picture-hanging strips work for lighter decorative shelves
Reality check: For heavier items, consider freestanding ladder shelves or bookcase-style units instead.
Budget: $20-60 per shelf
Time investment: 15-30 minutes per shelf
10. Tension Rod Everything
Tension rods aren’t just for shower curtains anymore.
Creative uses:
- Extra closet rod for seasonal clothes
- Under-sink storage (hang spray bottles from a tension rod)
- Room dividers with curtains
- Pan lid organizers inside cabinets
- Plant display systems near windows
Budget: $10-30 per rod
Time investment: 2 minutes per installation
The Window Treatment Upgrade
11. Curtains That Transform
Your rental probably came with blinds that make a sound like a paper shredder when you touch them.
The upgrade: Floor-to-ceiling curtains on tension rods or Command hooks.
Styling secrets:
- Hang curtains as close to the ceiling as possible
- Extend rods 6-12 inches beyond window frames
- Choose curtains that just kiss or puddle on the floor
- Layer sheers with blackout for versatility
No-drill installation:
- Kwik-Hang brackets (damage-free)
- Command hooks for lightweight curtains
- Pressure-mounted rods for inside window frames
Budget: $25-100 per window
Time investment: 30 minutes per window
Bathroom Upgrades Without the Plumber
12. Shower Curtain as Statement Piece
Your shower curtain is the largest visual element in most bathrooms. Treat it accordingly.
The upgrade: A bold, beautiful shower curtain transforms the entire space.
Bonus moves:
- Replace the standard shower head with a handheld or rainfall version (keep the original)
- Add a curved shower rod for more elbow room
- Use a decorative tension rod instead of the standard white one
Budget: $20-80 for curtain, $25-60 for better shower head
Time investment: 20 minutes total
13. Mirror Makeover
Can’t replace that builder-grade mirror? Frame it instead.
The upgrade: Attach decorative molding around the edges with adhesive (or liquid nails that can be removed with dental floss and a hair dryer).
Budget: $30-80 depending on mirror size
Time investment: 1-2 hours
The Finishing Touches
14. Area Rugs: Define Your Space
Rugs are the most underutilized tool in rental decorating.
Strategic use:
- Define zones in studio apartments
- Cover worn carpets or dated flooring
- Add warmth and acoustics
- Anchor furniture groupings
Size matters: In living rooms, all furniture should fit on the rug or at least have front legs on it. Too-small rugs make spaces feel choppy.
Budget: $50-300 depending on size and quality
Time investment: Instant gratification
15. Removable Hooks and Organization
Command hooks have evolved. Now there are:
- Picture-hanging systems
- Heavy-duty utility hooks
- Decorative hooks
- Wire management systems
Places you’re probably underutilizing:
- Inside cabinet doors
- Behind doors for robes, bags, towels
- Walls for vertical bike storage
- Corners for jewelry organization
Budget: $5-20 per pack
Time investment: Minutes
The Move-Out Strategy
Here’s the thing that separates rent-friendly renovations from regular renovations: you need an exit strategy.
Documentation:
- Photograph everything before you start
- Keep receipts and original hardware in labeled containers
- Set calendar reminders 30 days before lease end to start reversal
Removal checklist:
- Heat + plastic scraper for adhesive residue
- Goo Gone for stubborn spots
- Touch-up paint (ask landlord for paint code)
- Original hardware organized by room
- Helper friend (bribes: pizza and beer)
Timeline: Plan for a full weekend to reverse all changes before final walkthrough.
The Real Talk: What’s Actually Worth It?
Not every upgrade makes sense for every rental or every renter. Here’s how to decide:
Do it if:
- You’re planning to stay 1+ years
- The upgrade improves daily function (lighting, storage)
- It costs less than $200 and dramatically improves your happiness
- It’s easily reversible
Skip it if:
- You’re moving in less than 6 months
- The upgrade is purely aesthetic and doesn’t affect how you use the space
- It costs more than 50% of your security deposit
- It requires skills you don’t have (electrical work, plumbing)
The Bottom Line
Your rental doesn’t have to feel like a temporary holding pattern. With smart, reversible upgrades, you can create a space that feels authentically yours—without the landlord drama or the security deposit sacrifice.
Start small. Maybe it’s just swapping out the light bulbs this weekend. Maybe it’s one accent wall. Maybe it’s finally getting motion-sensor lights so your 2 AM bathroom trips don’t involve toe-stubbing disasters.
The point isn’t to do everything. The point is to do something. Because you deserve to live in a space that feels good, even if the lease says you can’t paint it.
Now go forth and peel-and-stick your way to happiness. Your security deposit will thank you.
What’s your favorite rent-friendly upgrade? Drop a comment below and share your best reversible renovation wins.
Leave a Reply